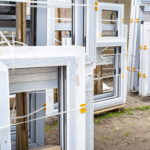
When upgrading or installing windows, understanding a crucial structural component known as a window buck can make all the difference. A window buck is a frame, typically made of wood, metal, or PVC, installed within a wall opening to provide support and a secure mounting surface for windows. Whether you’re constructing a new home or replacing old windows, knowing about window buck installation and the types of window bucks available can help ensure a durable and energy-efficient result.
Types of Window Buck
Different types of window bucks exist to accommodate various structural and environmental needs, contributing to overall window performance and energy efficiency by ensuring a secure fit and reducing air infiltration. Factors such as material durability, moisture resistance, and energy efficiency all play a role in determining the best option for your home or building. Choosing the right window buck depends on factors like building material, climate, and window type. Here are the most common types of window bucks:
1. Wood Window Buck
Wooden window bucks are commonly used in both residential and commercial construction. They are affordable, easy to install, and provide a sturdy frame for mounting windows.
- Pros: Readily available, cost-effective, and easy to work with.
- Cons: Prone to moisture damage and may require additional waterproofing.
2. Metal Window Buck
Metal bucks, often made of aluminum or steel, are highly durable and resistant to warping. They are ideal for high-rise buildings or hurricane-prone areas.
- Pros: Strong, long-lasting, and resistant to warping.
- Cons: More expensive and may require thermal breaks to improve insulation.
3. PVC Window Buck
PVC bucks are becoming increasingly popular due to their resistance to moisture and energy efficiency.
- Pros: Low maintenance, moisture-resistant, and energy-efficient.
- Cons: Can be costlier than wood and may expand or contract with temperature changes.
Window Buck Installation Guide
How to Build a Wood Window Buck
Wood window bucks are often preferred for their affordability, ease of installation, and adaptability to various construction styles. They are commonly used in residential and commercial settings where a strong, customizable frame is needed to secure windows properly. Building a wood window buck requires precision and quality materials to ensure durability and proper window fitting. Follow these steps to construct a sturdy wooden window buck:
Materials Needed:
- Pressure-treated lumber (2×6 or 2×8, depending on window size)
- Measuring tape
- Saw
- Galvanized screws
- Drill or hammer
- Carpenter’s square
- Waterproof sealant
Step 1: Measure and Cut the Lumber
- Measure the rough opening dimensions and cut four pieces of lumber to form a rectangular frame, ensuring the inside dimensions match the window size.
Step 2: Assemble the Frame
- Lay the cut pieces on a flat surface and attach them together using galvanized screws. Use a carpenter’s square to check for 90-degree corners.
Step 3: Reinforce the Structure
- For added stability, place additional wooden braces at the center or along the sides, depending on the window size.
Step 4: Apply Waterproofing
- Coat the wood with a waterproof sealant to prevent moisture damage and ensure longevity.
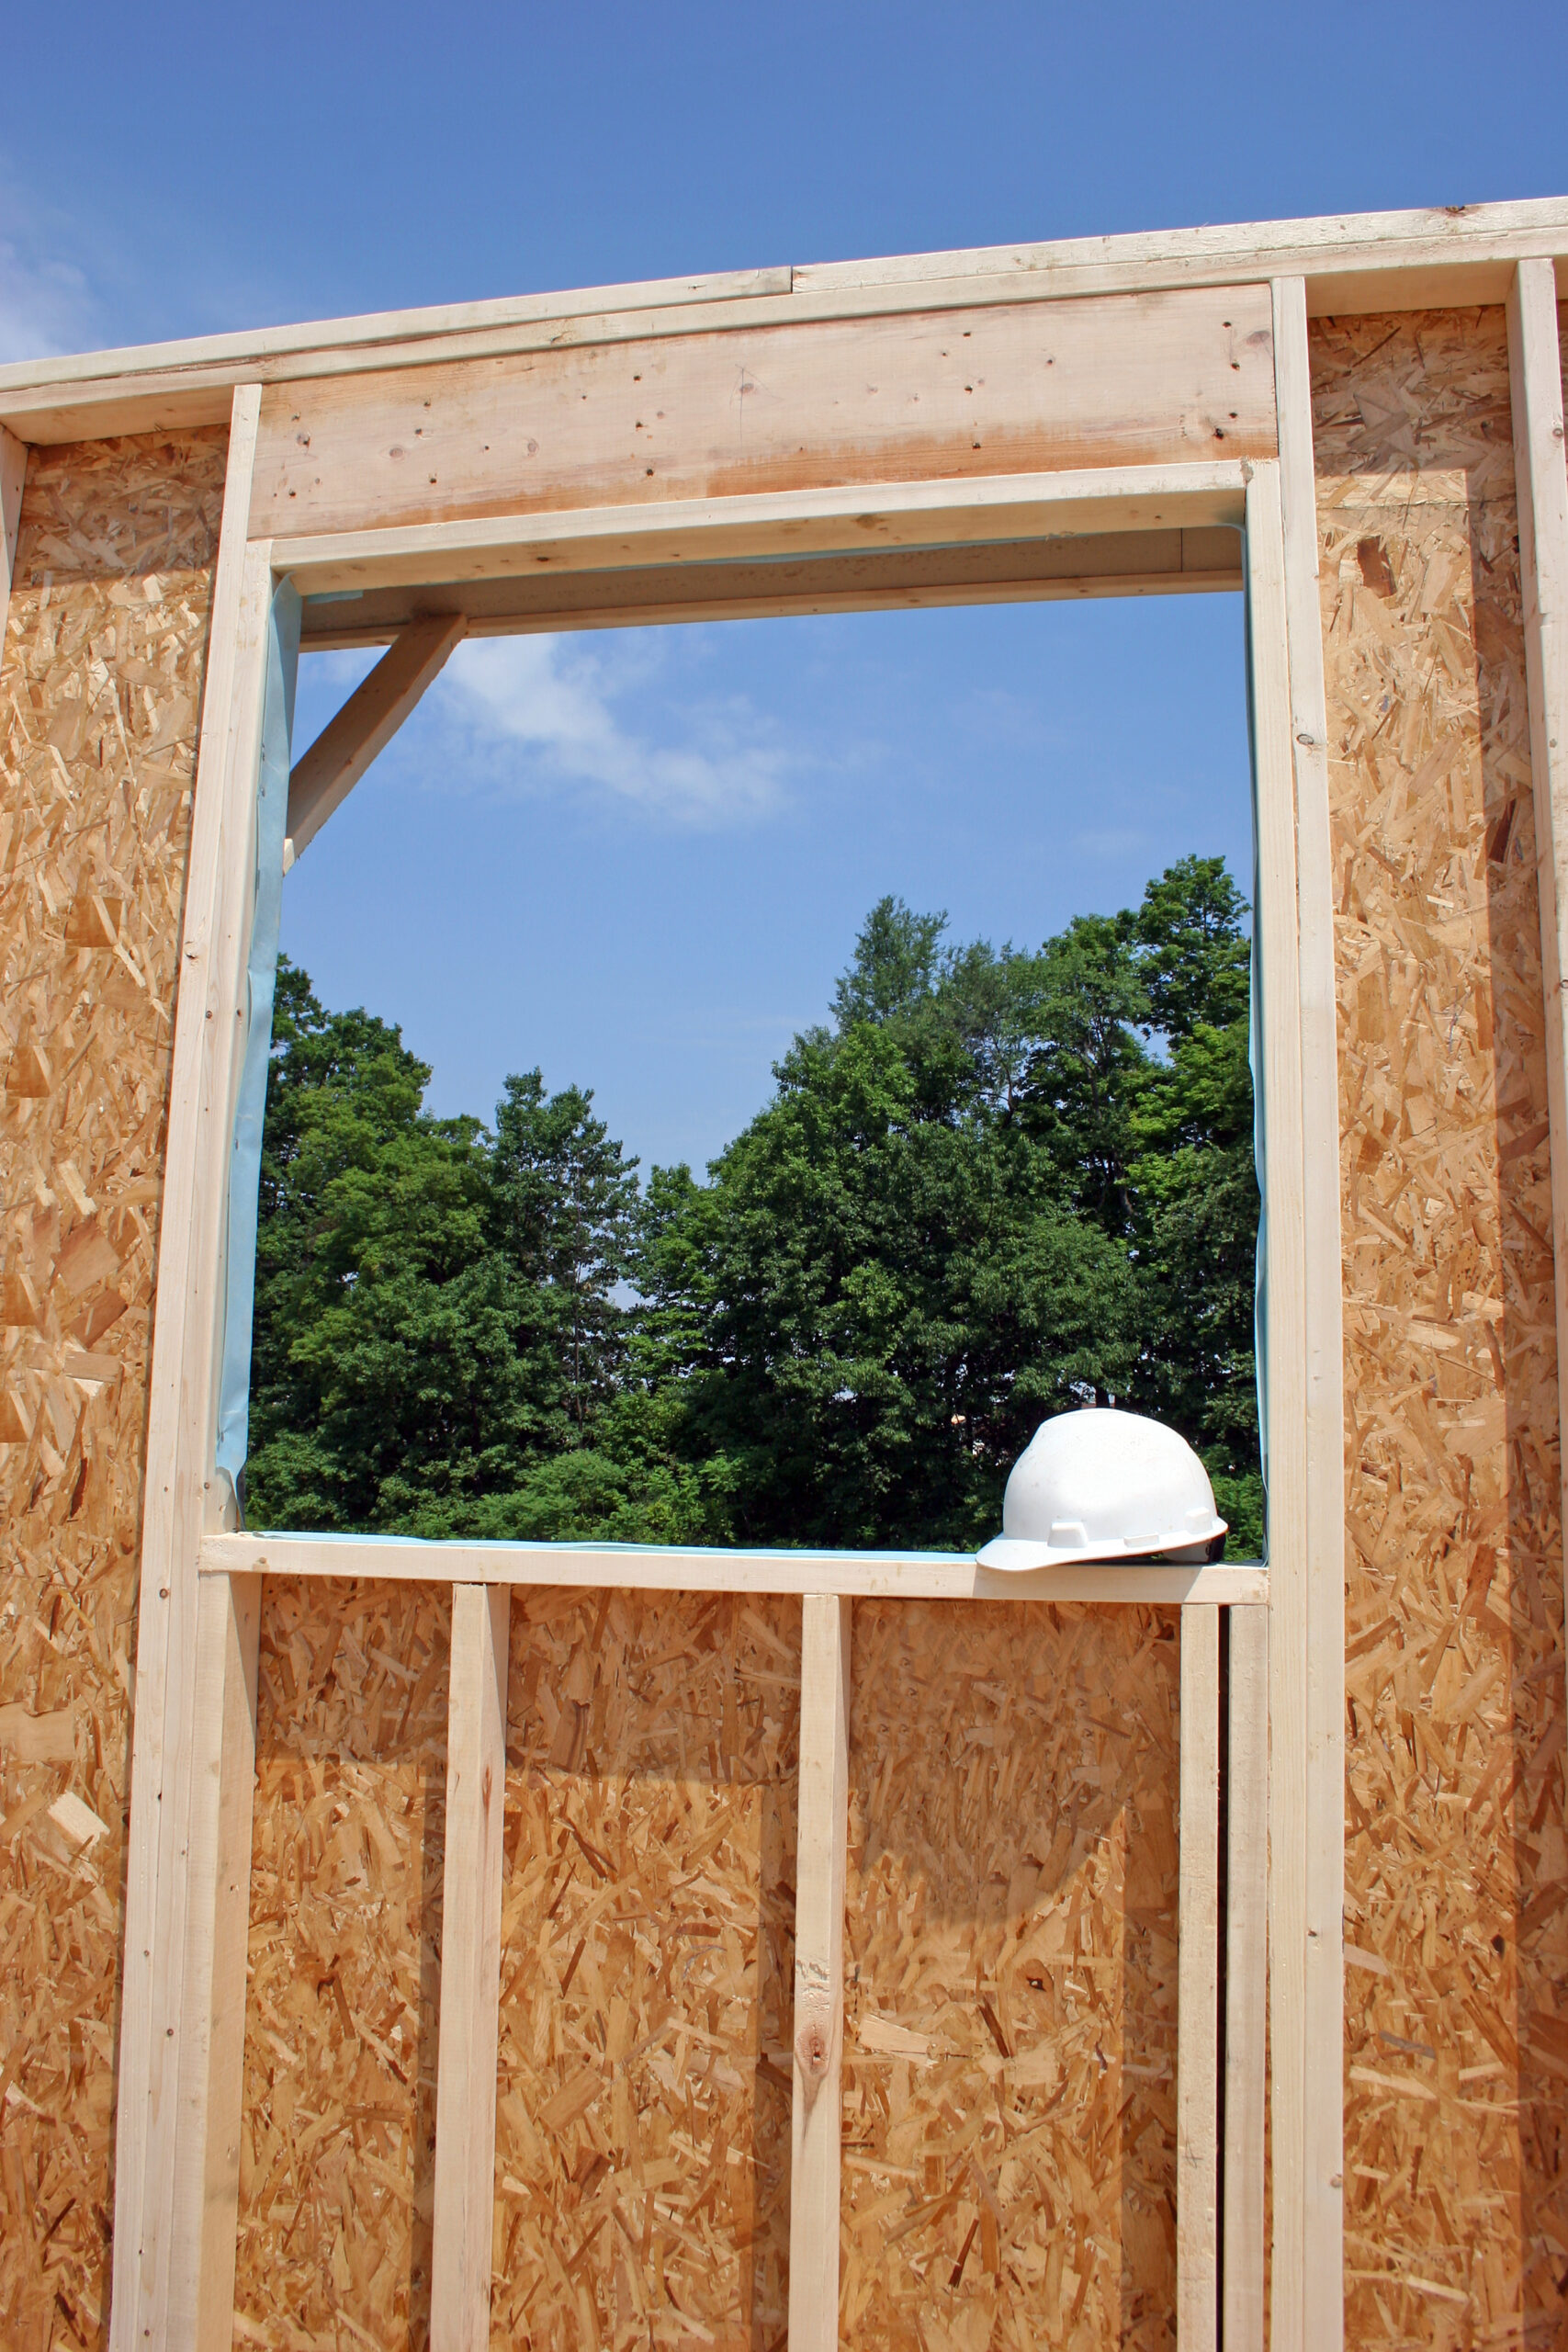
How to Install a Window Buck
Now that you have a sturdy window buck, you can proceed with the installation process. Proper installation of a window buck is crucial for a secure fit, preventing air and water leaks, and enhancing overall window performance. By following the right steps, you can ensure a long-lasting and energy-efficient result. Here’s a step-by-step overview to installing a window buck:
Step 1: Measure and Prepare the Opening
- Accurately measure the rough opening where the window buck will be installed. Ensure the space allows for proper leveling and sealing.
Step 2: Install the Window Buck
- Position the window buck within the rough opening.
- Secure it using fasteners appropriate for the wall material (screws for wood, anchors for concrete or masonry).
- Ensure it is square and level before proceeding.
Step 3: Seal and Insulate
- Apply flashing tape or waterproof sealant around the edges to prevent moisture infiltration.
- Use spray foam or insulation strips to improve energy efficiency and prevent air leakage.
Step 4: Install the Window
- Place the window into the prepared buck and secure it per the manufacturer’s instructions.
- Check for proper alignment and test the window operation before finalizing installation.
Why Proper Window Buck Installation Matters
Studies show that improper window installation can reduce energy efficiency by up to 30%, leading to higher utility costs and potential water damage. A well-installed window buck improves the structural integrity of your windows, enhances insulation, and prevents leaks. Whether you choose wood, metal, or PVC, selecting the right type of window buck and following proper installation techniques will ensure long-lasting performance. A well-installed window buck improves the structural integrity of your windows, enhances insulation, and prevents water damage.
For expert window installation and top-quality materials, contact Storm Tight Windows today and let our professionals guide you through the process! Our satisfied customers rave about the durability and energy efficiency of our installations—see the difference for yourself. Call us now at (561) 956-2126 for a consultation and experience top-tier service!
Subscribe to Storm Tight Windows's Blog
Get Storm Tight Windows's latest articles straight to your inbox. Enter your name and email address below.